
Buying ATLA Coin Is Surprisingly Easy.
Blockchain Sports is changing the future of sports.
Are you interested in its core, ATLA coin, but thinking, “The buying process seems difficult…”?
Don’t worry.
No special knowledge or dedicated wallet apps are required at all.
Anyone can easily start buying ATLA coin just by registering with their usual email address.
In this article, we will thoroughly explain the official method to buy ATLA coin using the payment service “PayID19,” breaking it down step-by-step from the initial account registration to the actual cryptocurrency transfer so that anyone can understand.
We will also introduce how to use the promo code ‘football’, which can be used during registration.
It is convenient to start registering from the link below, as this promo code will be entered automatically.
Let’s take the first step into the future sports economy in the easiest way possible.
The One Thing You Need to Prepare Before Buying
Before starting the actual purchase process, make sure you have the following ready at hand.
Cryptocurrency for Payment
You can pay for ATLA coin with various cryptocurrencies.
Please have a cryptocurrency you own and can transfer, such as USDT, USDC, Bitcoin (BTC), or Ethereum (ETH), ready in your preferred exchange (like Bybit or MEXC) or personal wallet (like MetaMask).
Are you ready?
Let’s start with account registration immediately.
Creating a Boostyfi Account
First, create your own account to buy ATLA coin using your email address.
Accessing the official site from the link below is convenient as the promo code explained in the next step will be automatically entered, saving you the trouble of typing it.
Step 1: Access the Official Site and Start New Registration
First, tap the link below to access the official Boostyfi website.
We recommend using this link to ensure you access the official site.
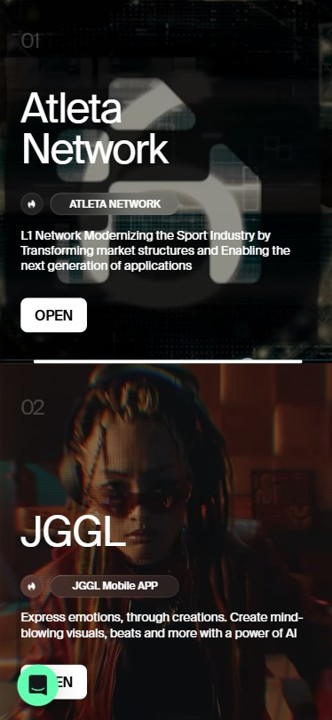
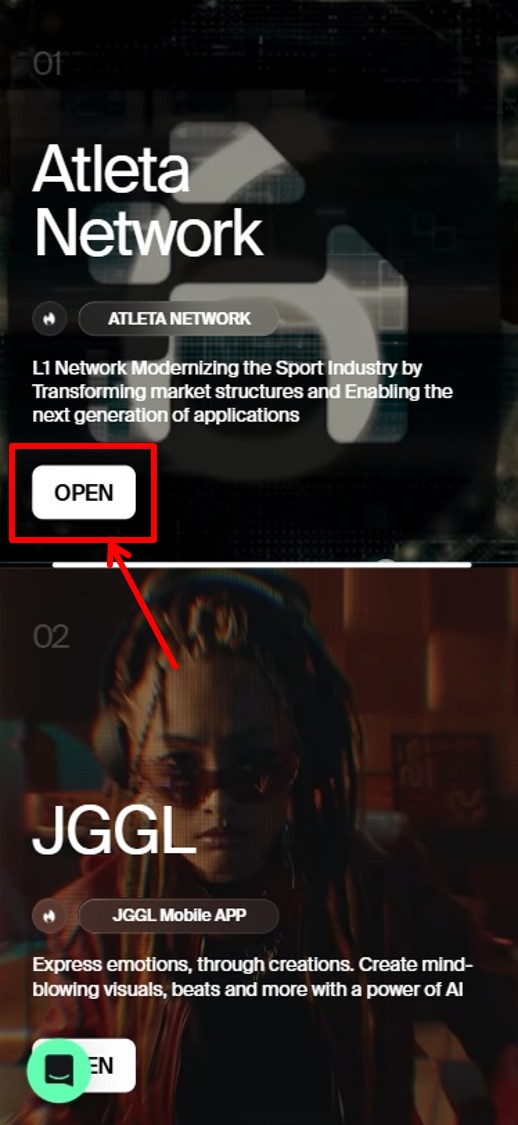
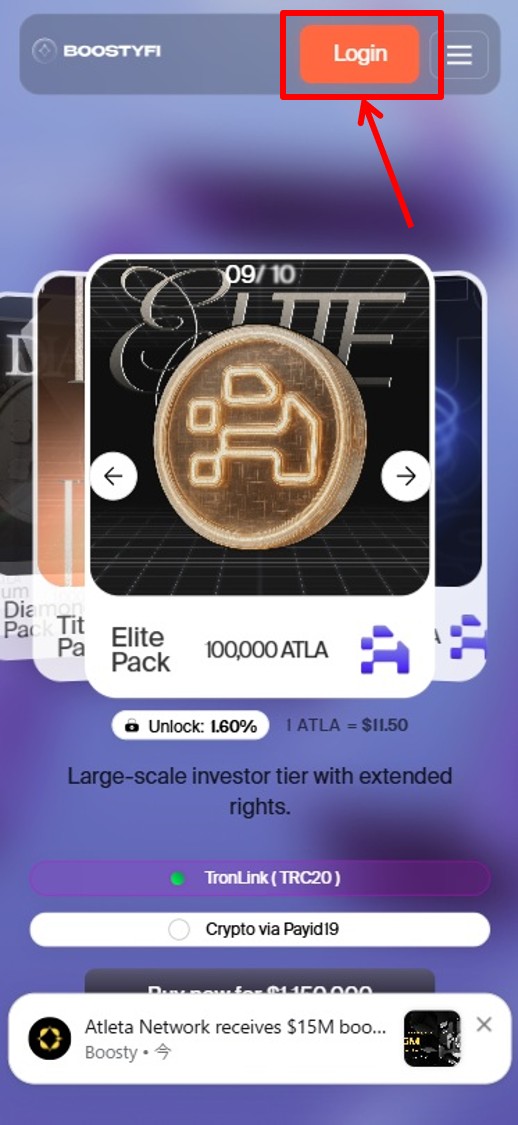
Once you access the site, tap “Open” on Atleta Network.
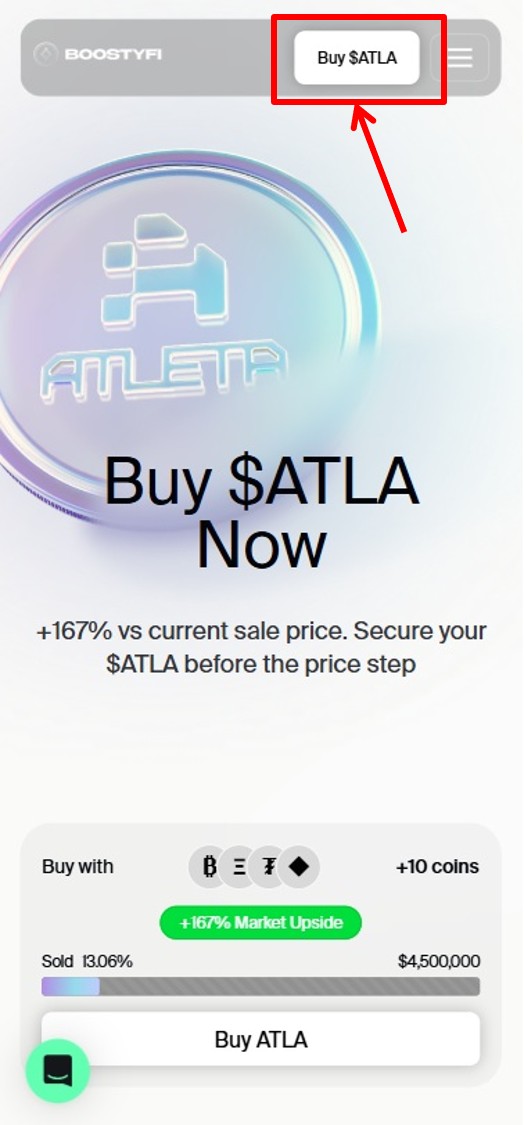
Tap “Buy $ATLA”.
Tap “Login”.
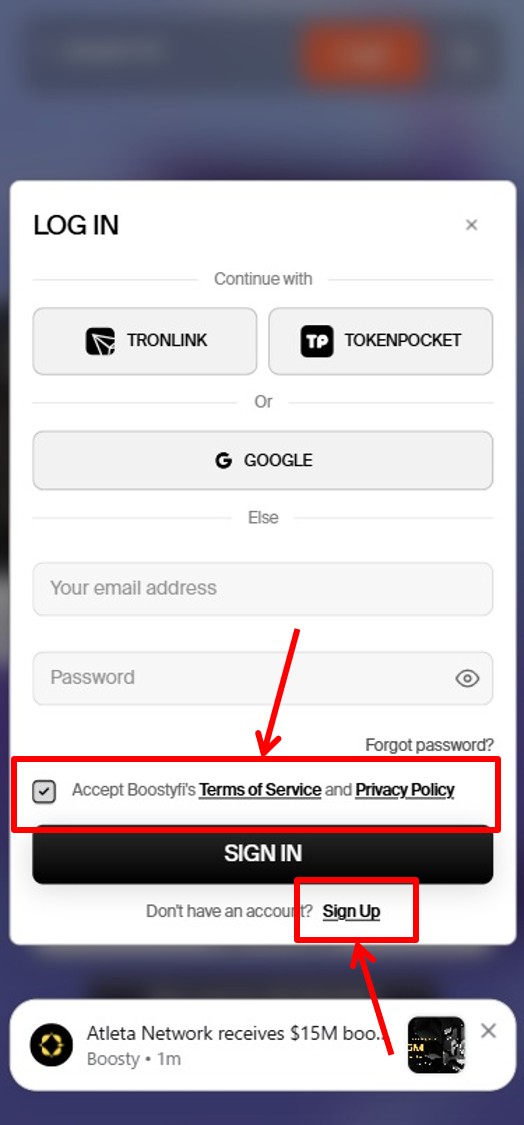
Tap “Terms of Service”.
Tap “Sign Up”.
Step 2: Confirm and Enter Information and Promo Code
The registration screen will appear.
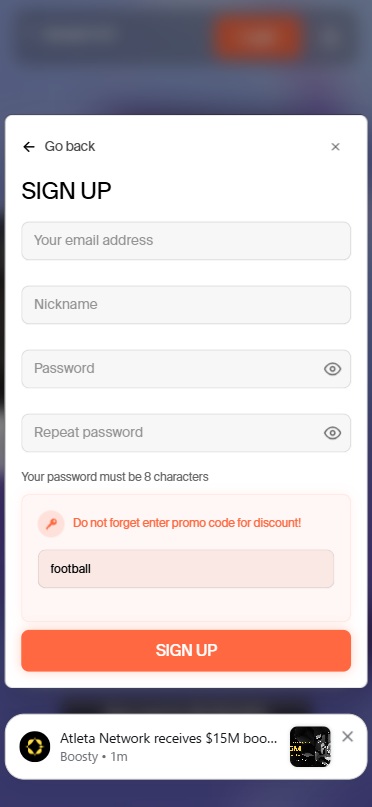
Enter the following information:
Field Instruction
| Email Address | Enter your email address |
| Nickname | Enter a nickname using Roman characters (letters) |
| Password | Enter a password (combination of uppercase, lowercase, and numbers; 8 characters or more) |
And here is a crucial checkpoint.
If you accessed the site from the link above, the code ‘football’ should already be automatically entered in the promo code field.
Just to be safe, please make sure with your own eyes that the text ‘football’ is correctly displayed in this field.
If for some reason it is blank, please manually enter ‘football’.
Once all information is entered and confirmed, tap “Register”.
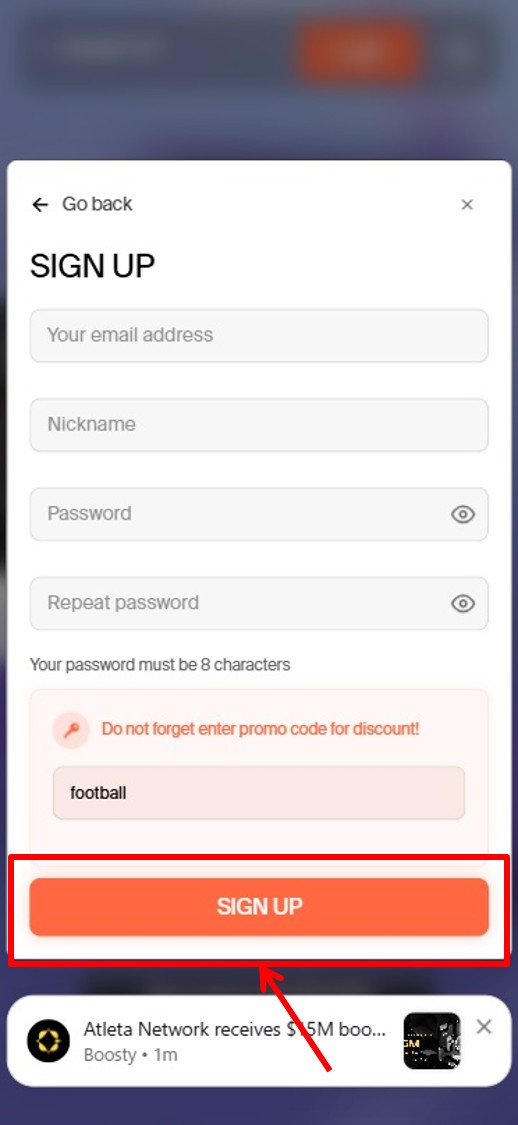
Account creation is now complete.
Buying ATLA Coin via PayID19
Once your account is ready, it’s time to buy ATLA coin.
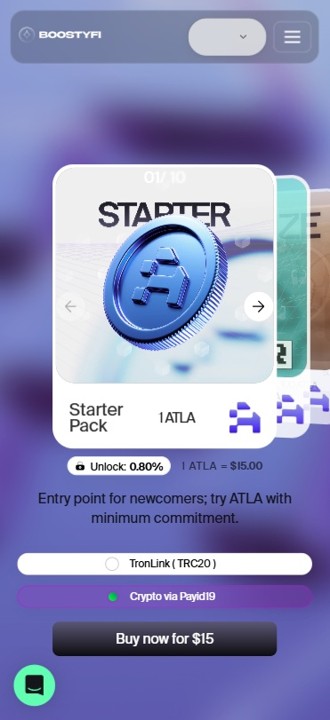
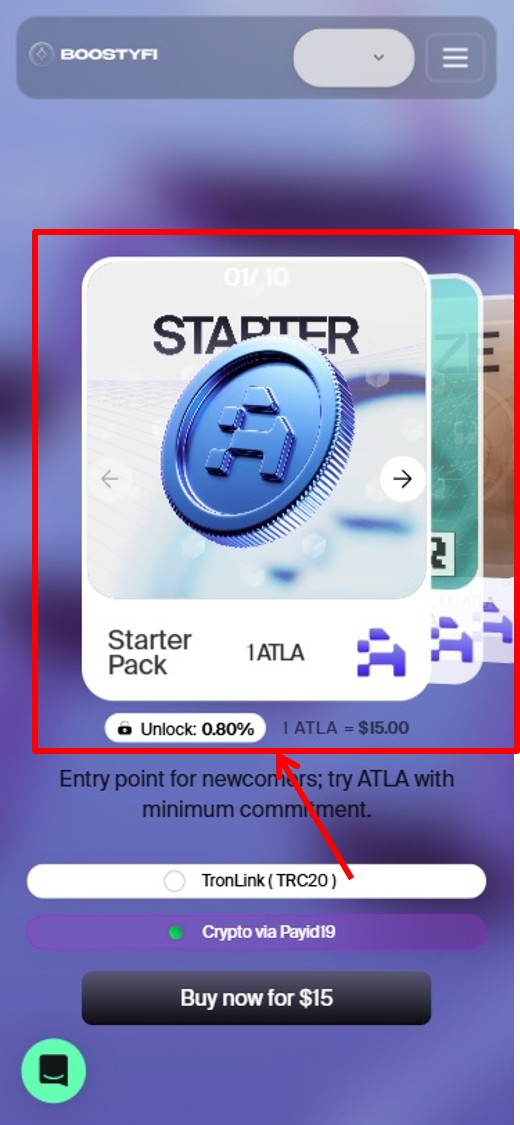
Step 3: Select the ATLA Package You Want to Buy
Proceed to the purchase screen.
Here, decide the quantity of ATLA you want to buy.
Select from “Packages”.
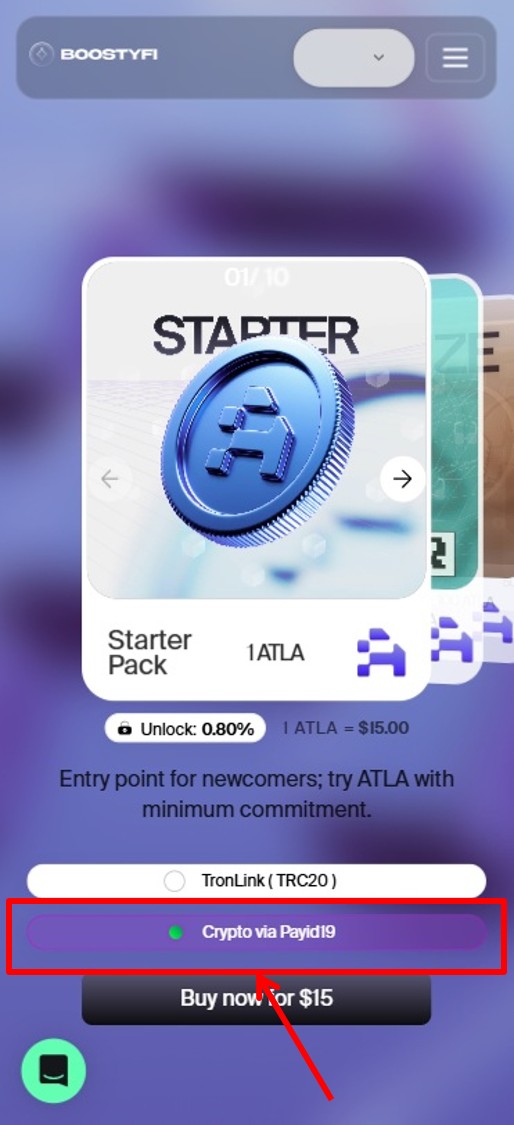
Step 4: Choose Payment Method
After deciding on a package, proceed to the payment method selection screen.
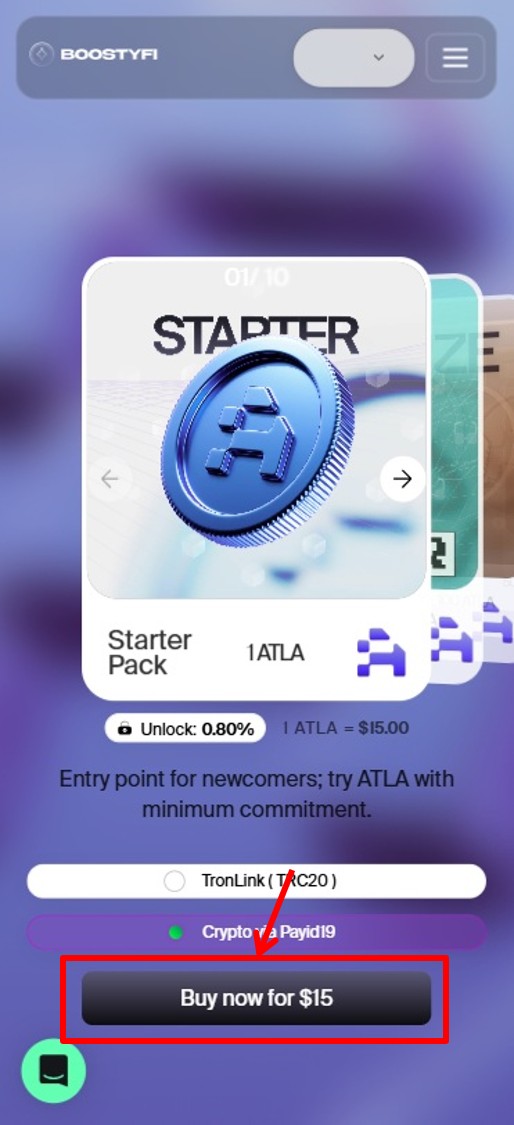
Select “Crypto via Payid19” here.
Tap “Buy now for $XX”.
[Note] What is PayID19?
PayID19 is a secure payment gateway service that facilitates payments with various types of cryptocurrency.
This allows us to pay flexibly with the crypto assets we own.
Step 5: Select the Cryptocurrency to Use for Payment
The screen will switch to PayID19.
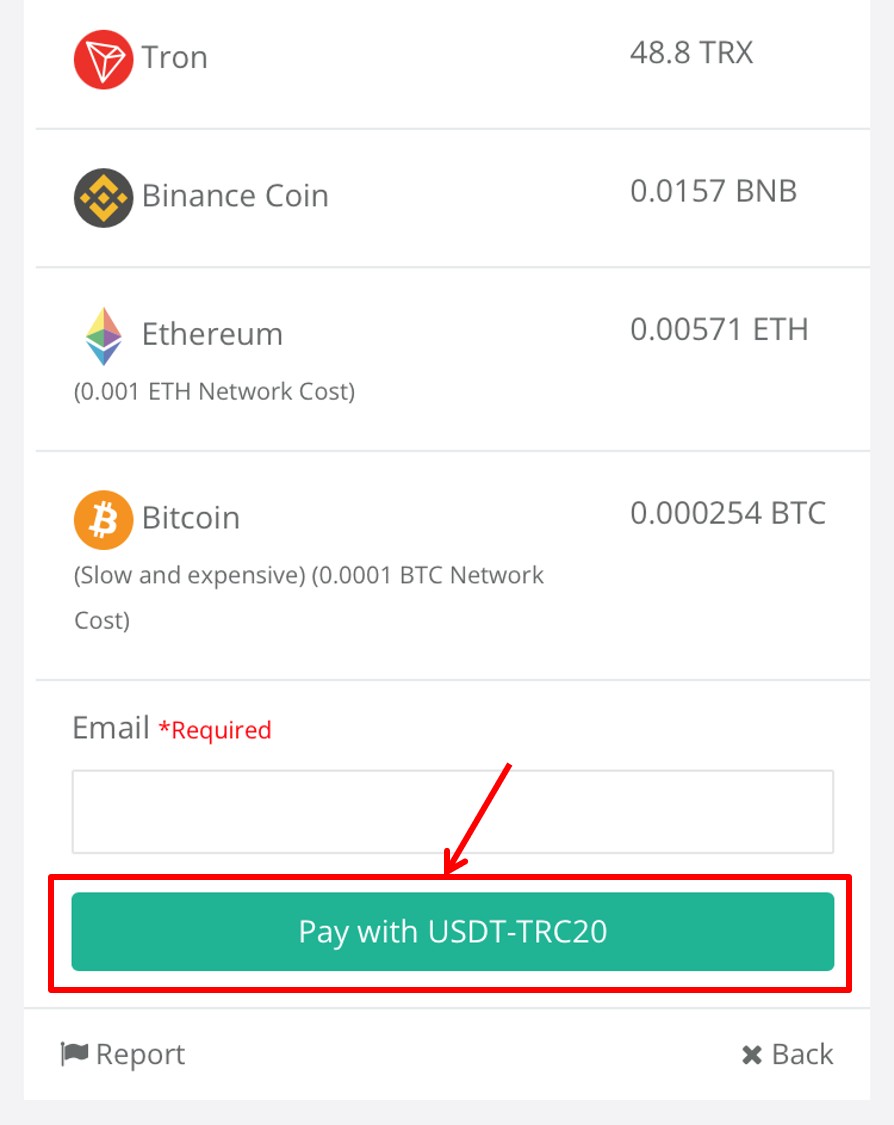
Here, select the cryptocurrency you want to use for payment.
Many options such as USDT, USDC, Litecoin, TRON, Binance Coin, BTC, Ethereum, etc., will be displayed, so please choose the currency you have prepared.

When you select a currency, a button saying “Pay with [Selected Currency Name]” will appear, so tap it.
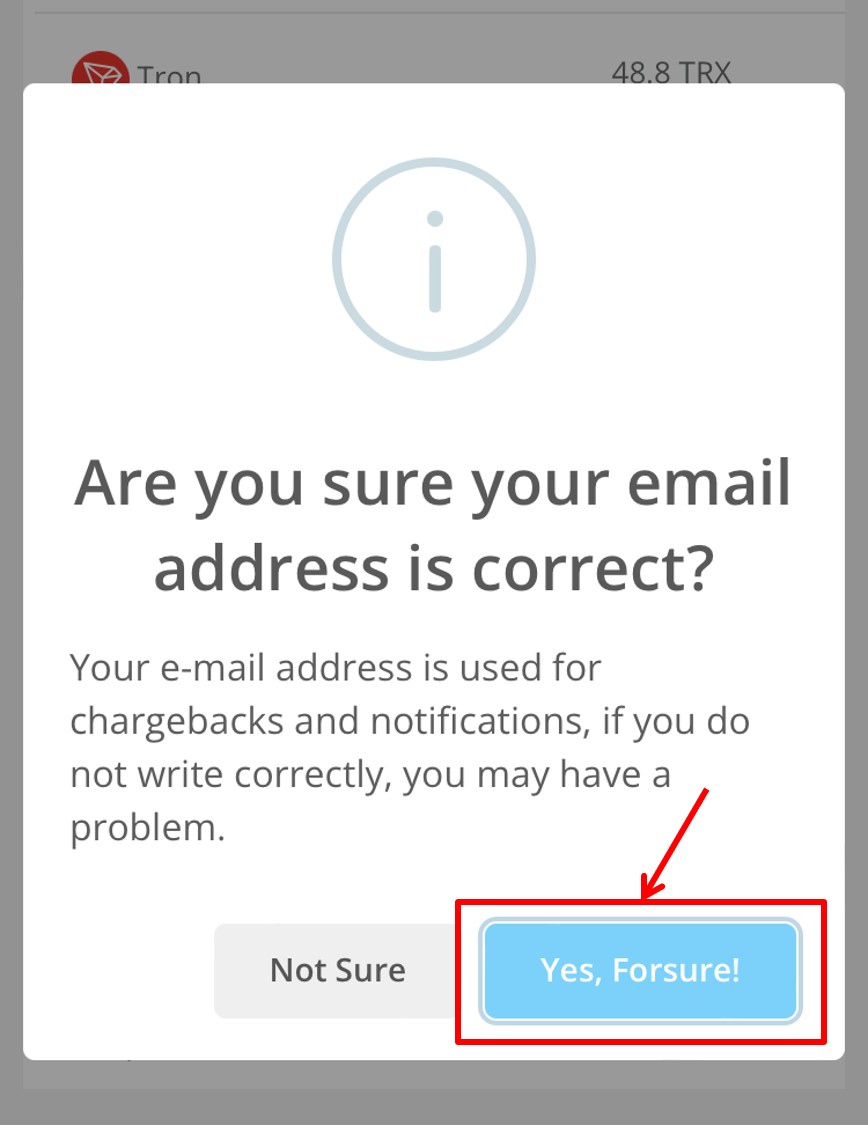
Tap “Yes, Forsure!”.
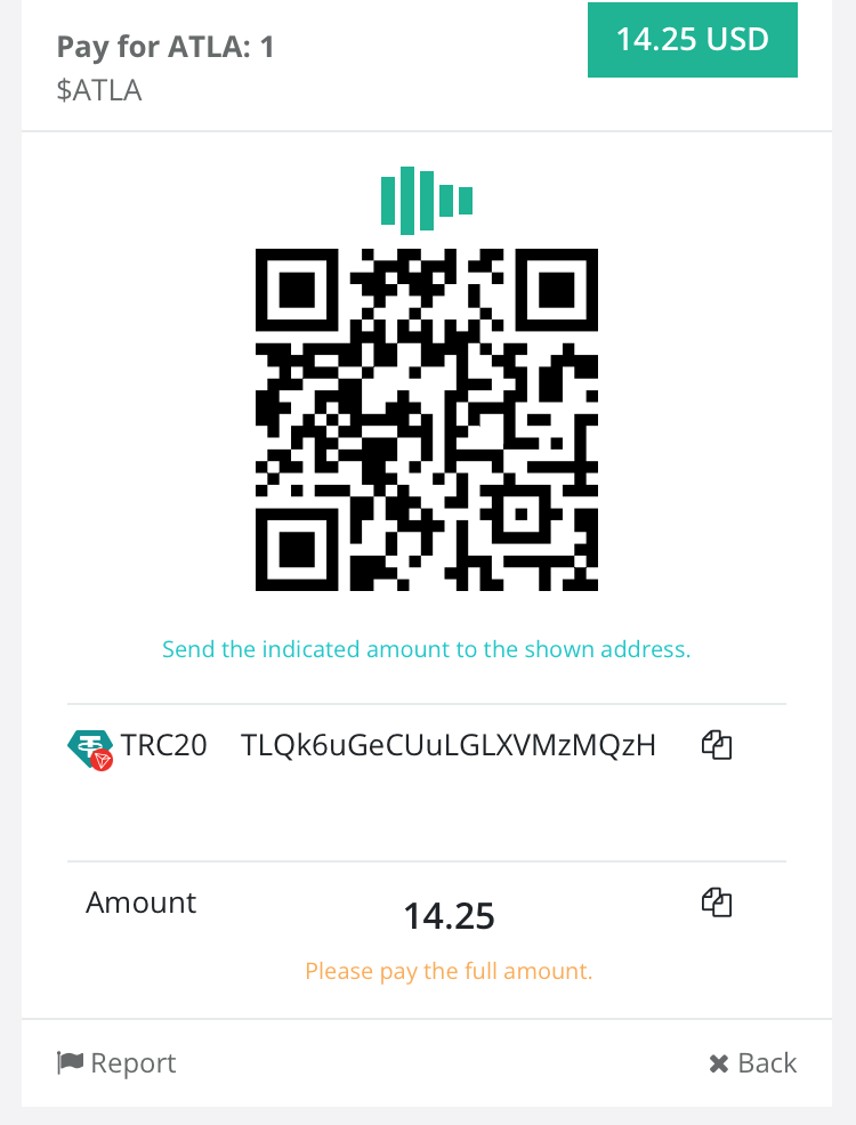
Step 6: Transfer Cryptocurrency to the Displayed Address
When you proceed to the final confirmation screen, the “destination wallet address” where you need to send the crypto will be displayed.
A QR code that can be scanned with a smartphone camera will also be shown.
[Most Important / Caution]
This is the most critical step.
Open the cryptocurrency exchange (like Bybit) or wallet app you are using, and execute the transfer procedure by accurately copying and pasting the displayed address without making any mistakes.
Never type the address manually (use the copy function).
Do not mistake the transfer network (e.g., check if it is TRC20 or ERC20 for USDT).
If you get the address or network wrong, your assets will be lost forever.
Please pay close attention when executing the transfer.
Step 7: Confirm Purchase Completion
Once the transfer procedure is done and the transaction is approved on the blockchain, the PayID19 screen will switch to “Complete,” and the purchase on Boostyfi is complete.
Congratulations!
Return to your Boostyfi account and check the dashboard to see if the amount of ATLA coins you purchased is reflected.
It may take a few minutes to reflect.
Summary
As you can see, the process of getting ATLA coin is surprisingly simple.
No special wallet knowledge is needed; with just an email address and your usual exchange, anyone can become an early participant in the future sports economy.
Register using the link introduced in this article, confirm that the promo code ‘football’ is applied, and take your first step into this revolutionary project.